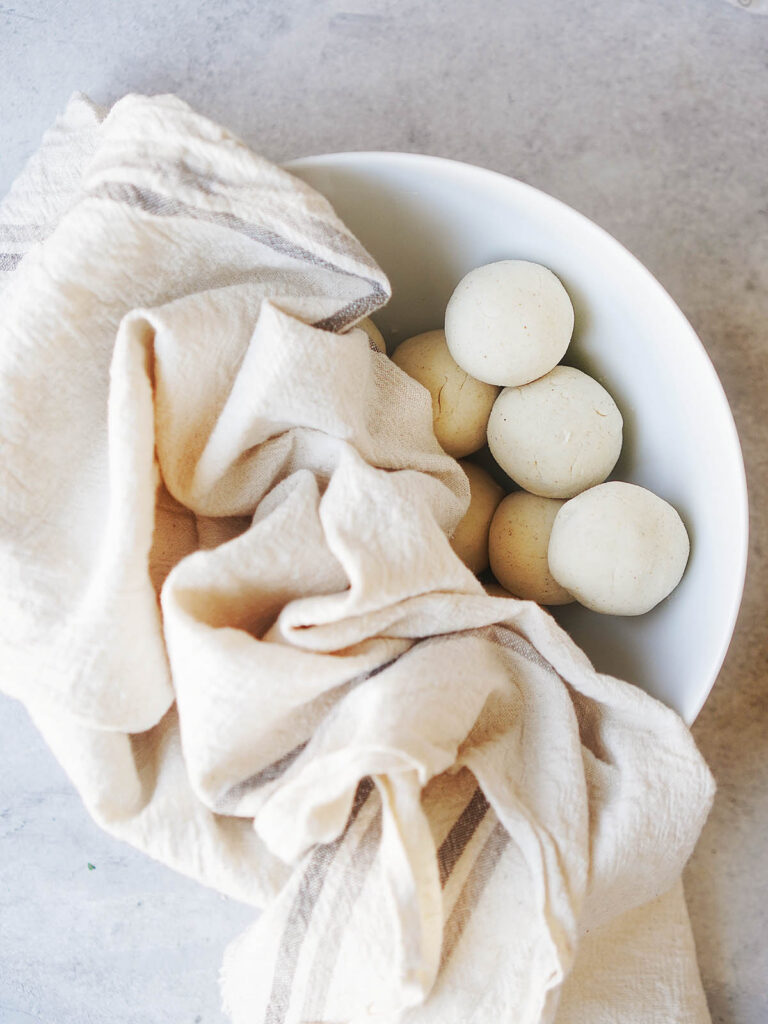
How to Make Homemade Flour Tortillas
There is something truly special about homemade flour tortillas. Warm, soft, and slightly chewy, they have a flavor and texture that store-bought versions simply cannot match. Whether you’re preparing tacos, burritos, quesadillas, wraps, or simply enjoying a tortilla with butter, making them from scratch is a rewarding kitchen skill that anyone can learn.
The best part is that flour tortillas require only a handful of pantry staples. With a little practice, you’ll be able to create restaurant-quality tortillas that are soft, quick, and full of flavor. In this guide, you’ll learn everything you need to know, from choosing ingredients to rolling, cooking, and storing your homemade tortillas.
Why Make Flour Tortillas at Home?
Many people assume tortillas are difficult to make, but they are surprisingly simple. Homemade tortillas contain nearly no preservatives and can be customized to your taste. Depending on which Lard you purchase, that will contain synthetic preservatives like BHA (butylated hydroxyanisole) and BHT (butylated hydroxytoluene) to extend its shelf life. However, you can also make your own lard at home with zero preservatives. This recipe will focus on making homemade tortillas from store bought lard.
Fresh tortillas also have a richer aroma and softer texture. Once you’ve tasted a warm tortilla fresh from the skillet, you’ll understand why so many home cooks never go back to packaged versions.
Ingredients
- 2 ½ cups all-purpose flour
- 1 teaspoon salt
- ½ cup lard, vegetable shortening, butter, or neutral oil (although lard provides the most flavor)
- 1 cup room temperature water
Each ingredient serves an important purpose.
Flour provides the structure and creates the chewy texture tortillas are known for.
Salt enhances flavor and balances the dough.
Fat makes tortillas soft and pliable. Lard is considered traditional and offers exceptional flavor, while butter adds richness. Vegetable shortening creates soft tortillas, and neutral oils such as canola or avocado oil work well for a dairy-free option.
Water hydrates the flour and helps bring the dough together smoothly.
Equipment
Fortunately, you don’t need specialized equipment.
Helpful tools include:
- Large mixing bowl
- Measuring cups and spoons
- Rolling pin
- Cast iron skillet, griddle, or heavy frying pan
- Clean kitchen towel
- Spatula (optional)
A tortilla press is generally used for corn tortillas rather than flour tortillas, so you will need a rolling pin.
Step 1:
Begin by mixing the flour and salt into a large bowl. Whisk everything together until evenly combined. This ensures the baking powder and salt are distributed throughout the flour.
Step 2:
Add your chosen fat into the flour mixture. Using your fingertips, a pastry cutter, or two forks, work the fat into the flour until the texture resembles coarse crumbs. I simply use my fingertips. This step coats portions of the flour with fat, helping create soft, flaky tortillas.
Step 3:
Slowly pour in the water while stirring with a spoon or your hands. I find that using my hands is easier. Mix the dough until it comes together and is smooth. If the dough feels too dry, add another tablespoon of water. If it feels excessively sticky, sprinkle in a small amount of flour. The goal is a soft, slightly tacky dough that is easy to handle.
Step 4:
Transfer the dough to a lightly floured surface. Knead the dough until it becomes smoother and more elastic.
You will know it is ready when it is smooth and the texture is no longer sticky and trying to hold on to your fingers but rather form as a ball.
Step 5:
Place the dough back into the bowl and cover it with plastic wrap, a damp towel, or a plate. Allow it to rest for about 15 minutes. This resting period relaxes the gluten, making the dough much easier to roll into thin circles. Do not skip the resting.
Step 6:
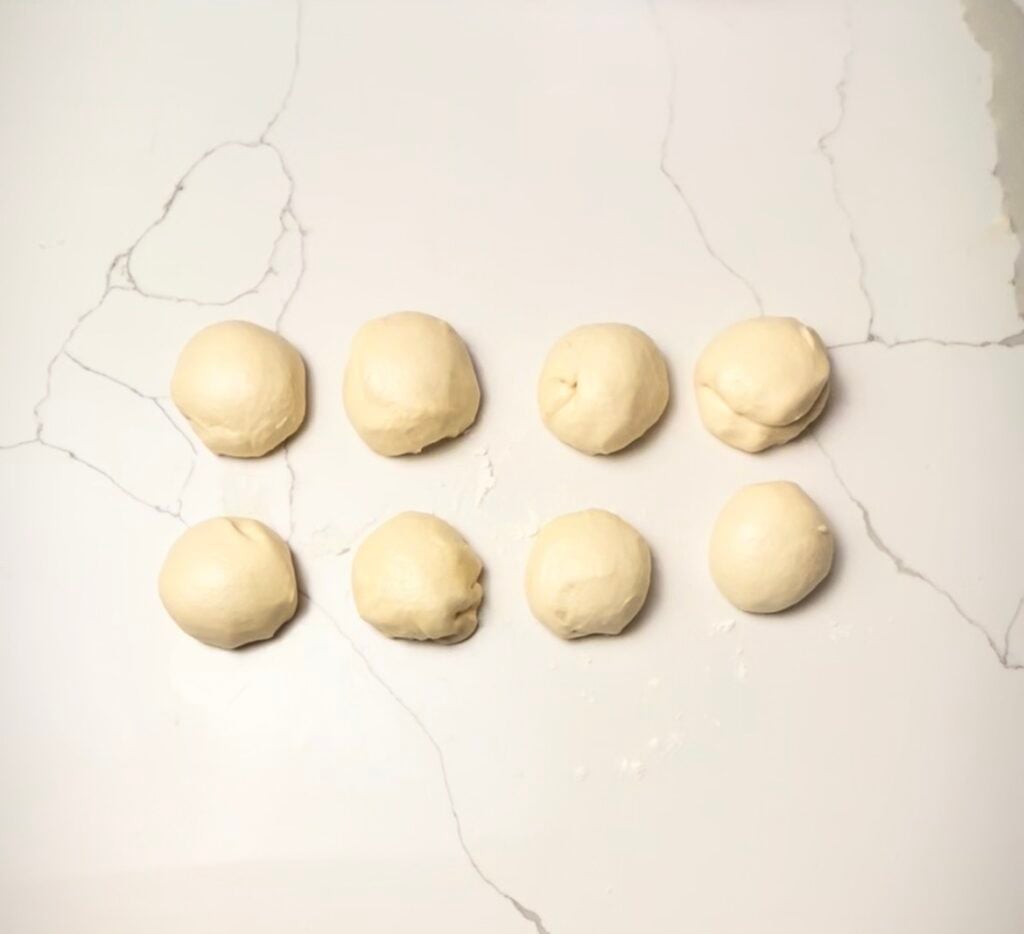
After resting, divide the dough into equal portions in the form of a ball. Next, rub a small amount of lard all over your hands and lightly tap lard onto each ball. You will have approximately 8 balls. Now let it rest for five minutes.
Once you start to work on the dough balls, cover them with a towel while you work to prevent them from drying out. Maintaining moisture is very important when making homemade tortillas (flour or corn).
Step 7:
Lightly flour your work surface. Flatten one dough ball slightly with your hand. It will resemble the shape of a very thick pancake. Using a rolling pin, roll from the center outward up then center outward down, while rotating the dough after every few strokes. This part can be tricky and there are a lot of methods for rolling the dough to make a circular tortilla.
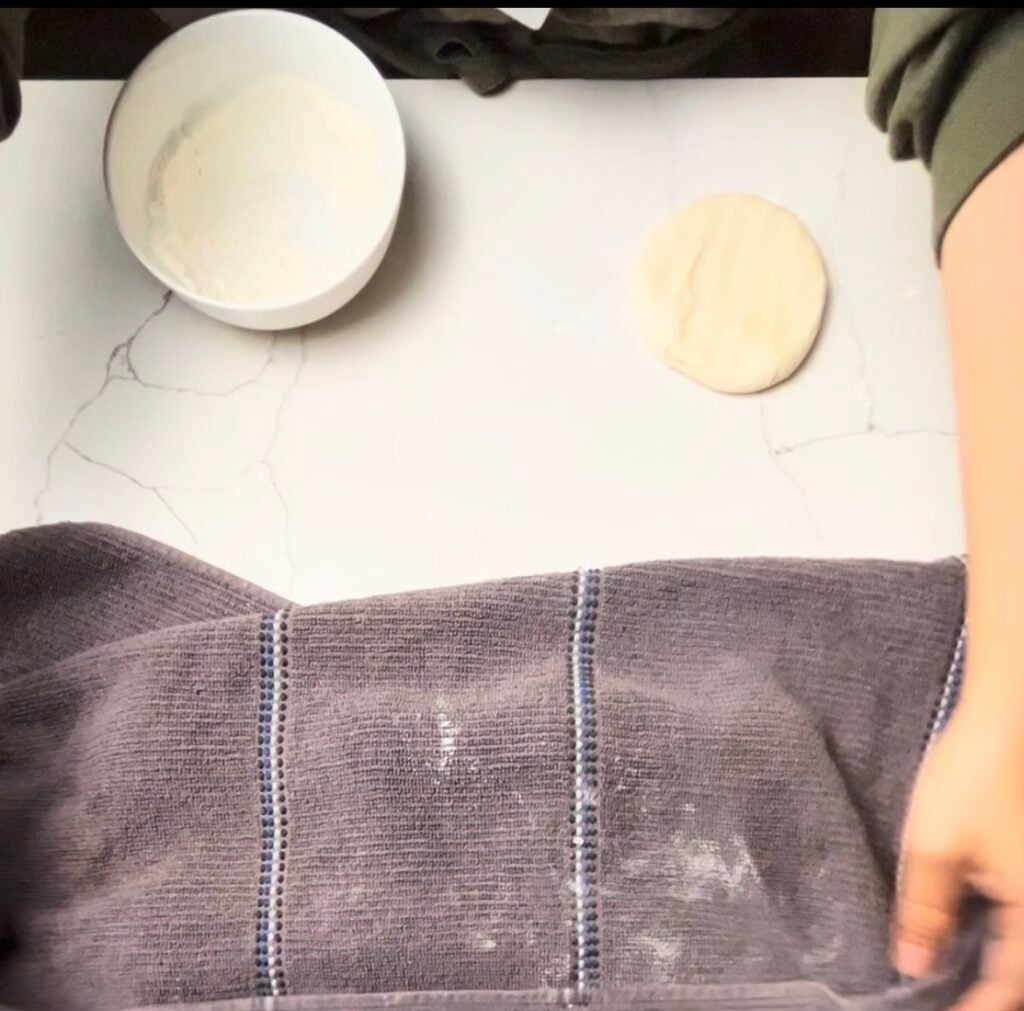
This is method that I have found works for me. However, you may use whatever method works best for you.
Begin with rolling from the center to outwards up then center to outwards down motion until your tortilla is in the shape of a “chancla” or a flip-flop sandel. It should look as shown below.
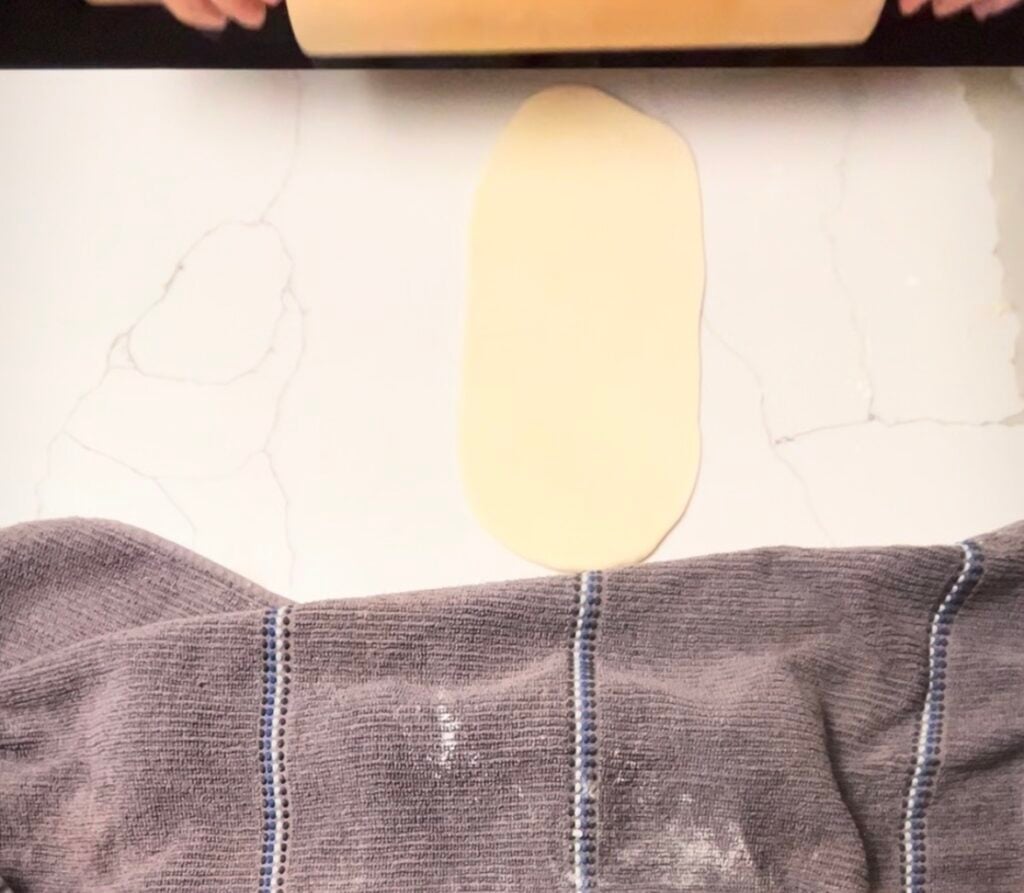
Next rotate your vertical “chancla” so that it is horizontal and repeat the same rolling motion of rolling from the center to outwards up then center to outwards down. Continue repeating this pattern of rolling the tortilla a few strokes and rotating it until it begins to resemble a circular pattern. Remember, homemade tortillas are sisters and not clones. There will be variation from each tortilla, do not focus on perfection but rather achieving the end circular shape. This is the touch and part of the charm of homemade tortillas. Continue rolling until the tortilla measures approximately 7 to 10 inches depending on your desired size.
Step 8:
Place a cast iron skillet or heavy pan over low-medium heat. Allow it to become thoroughly hot before cooking. A properly heated pan ensures the tortillas cook quickly and develop the characteristic brown spots. For a temperature reference – if the tortilla comes out crispy, then the pan is too hot. If the tortilla is not toasting – the pan is not hot enough. Do not grease the skillet.
Step 9:
Carefully place one rolled tortilla onto the hot skillet. Cook each side for approximately 30 to 45 seconds. Small bubbles will begin forming. Flip the tortilla. Cook the second side for another 30 to 45 seconds. Flip once more if necessary for another 10 to 15 seconds. The finished tortilla should display light golden brown spots while remaining soft and flexible. Avoid overcooking, as this causes tortillas to become dry and brittle.
Step 10:
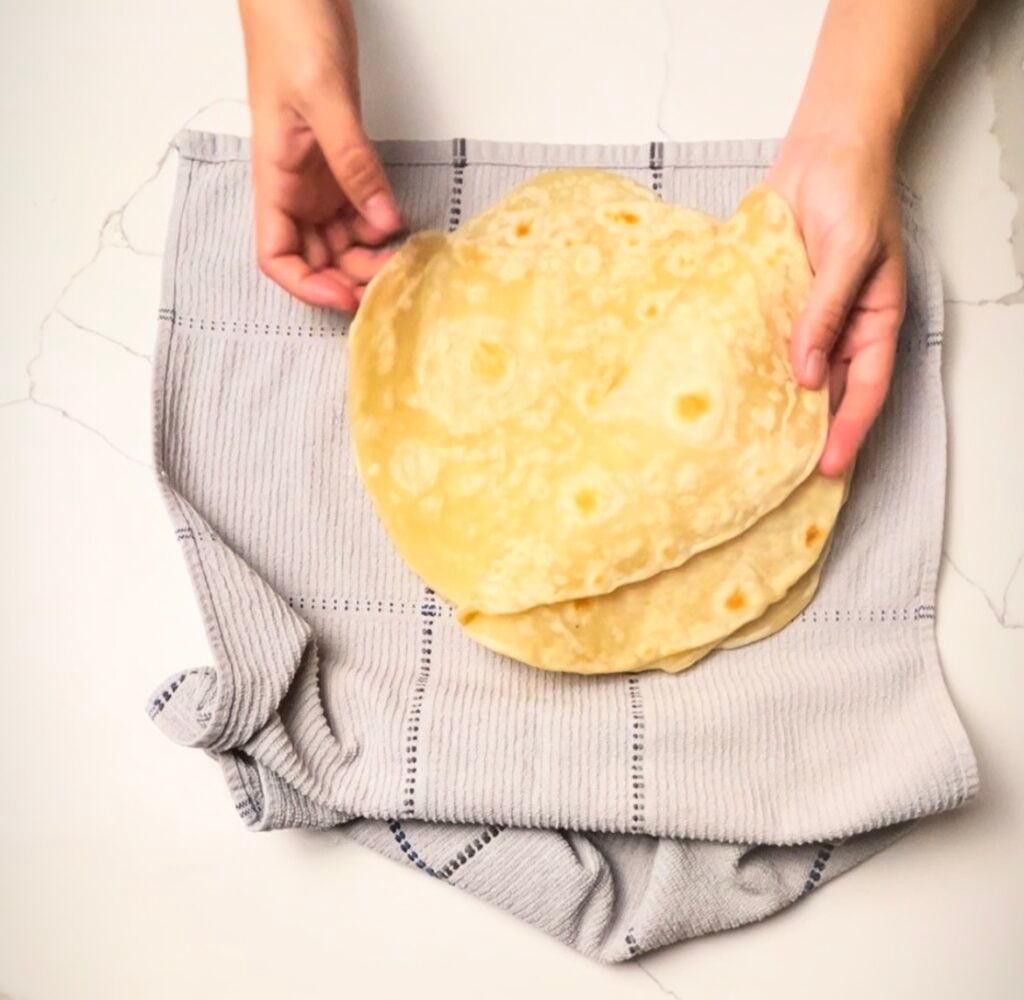
Place each finished tortilla inside a clean kitchen towel. Wrap the towel around the tortillas to trap steam. This keeps them warm while making the tortillas even softer. Continue until all tortillas are cooked.
Common Mistakes and How to Avoid Them
Even simple recipes can present challenges.
Tortillas Are Too Tough
Tortillas Shrink While Rolling
Gluten hasn’t relaxed sufficiently. Allow the dough to rest an additional 15 to 20 minutes before trying again.
Tortillas Become Dry
Overcooking is the most common culprit. Cook only until light brown spots appear.
Tortillas Don’t Puff
A flour tortilla doesn’t need to puff completely to be successful. However, proper heat and evenly rolled dough increase the likelihood of puffing, which often indicates good gluten development.
Serving Ideas
Fresh flour tortillas are incredibly versatile.
Serve them with:
- Breakfast burritos
- Chicken tacos
- Beef tacos
- Carnitas
- Quesadillas
- Enchiladas
- Wrap sandwiches
Many people enjoy eating them warm directly from the skillet with nothing more than melted butter.
Storage Tips
Homemade tortillas stay fresh surprisingly well. Store cooled tortillas in an airtight container or resealable plastic bag.At room temperature, they remain fresh for about five to seven days but I do not recommend storing in this manner. In the refrigerator, they’ll keep for approximately three weeks. For longer storage, freeze them with parchment paper between each tortilla to prevent sticking. They can remain frozen for up to six months.
Reference https://www.foodsafety.gov/ for best practices.
Frequently Asked Questions
Can I make the dough ahead of time?
Yes. The dough can be refrigerated for up to 24 hours. If you store in the form of a thick pancake, allow it to return to room temperature before rolling.
Can I use whole wheat flour?
Absolutely. Replacing half the all-purpose flour with whole wheat flour creates a heartier tortilla while maintaining softness. Although not as flavorful in my opinion.
Why use warm water instead of cold?
Yes you can. Personally it is easier for me with cold water but you may use warm water as well.
Can I freeze uncooked dough?
Yes. Wrap them individually when they are in the shape of thick pancakes and freeze them. You can layer them with parchment paper so they do not stick to each other, and throw them in a Ziploc bag or container. Thaw the dough before rolling and cooking.
Which fat produces the best tortillas?
Many traditional cooks prefer lard for its flavor and texture. However, butter, shortening, and neutral oils all produce excellent results.
Final Thoughts
Making homemade flour tortillas is one of the most satisfying baking projects you can tackle. With only a few inexpensive ingredients and a little practice, you’ll produce tortillas that are softer, fresher, and more flavorful than nearly any packaged variety.
The key is taking your time with each step. Mix the ingredients carefully, knead until smooth, allow the dough to rest, roll evenly, and cook on a properly heated skillet. Each batch helps you develop better technique, and before long you’ll be rolling tortillas with confidence.
Whether you’re preparing Taco Tuesday, family dinners, weekend brunches, or meal-prep lunches, homemade flour tortillas elevate every meal. Their fresh aroma, tender bite, and incredible versatility make them a staple worth mastering.
Once you experience the taste of a warm tortilla straight from the skillet, you may find yourself making them regularly. Homemade flour tortillas are more than just bread—they’re a delicious tradition that brings comfort, flavor, and homemade goodness to the table.

How to Make Homemade Flour Tortillas
Ingredients
Equipment
Method
- Begin by mixing the flour and salt into a large bowl. Whisk everything together until evenly combined. This ensures the baking powder and salt are distributed throughout the flour.
- Add your chosen fat into the flour mixture. Using your fingertips, a pastry cutter, or two forks, work the fat into the flour until the texture resembles coarse crumbs. I simply use my fingertips. This step coats portions of the flour with fat, helping create soft, flaky tortillas.
- Slowly pour in the water while stirring with a spoon or your hands. I find that using my hands is easier. Mix the dough until it comes together and is smooth. If the dough feels too dry, add another tablespoon of water. If it feels excessively sticky, sprinkle in a small amount of flour. The goal is a soft, slightly tacky dough that is easy to handle.
- Transfer the dough to a lightly floured surface. Knead the dough until it becomes smoother and more elastic. You will know it is ready when it is smooth and the texture is no longer sticky and trying to hold on to your fingers but rather form as a ball.
- Place the dough back into the bowl and cover it with plastic wrap, a damp towel, or a plate. Allow it to rest for about 15 minutes. This resting period relaxes the gluten, making the dough much easier to roll into thin circles. Do not skip the resting.
- After resting, divide the dough into equal portions in the form of a ball. Next, rub a small amount of lard all over your hands and lightly tap lard onto each ball. You will have approximately 8 balls. Now let it rest for five minutes. Once you start to work on the dough balls, cover them with a towel while you work to prevent them from drying out. Maintaining moisture is very important when making homemade tortillas (flour or corn).
- Lightly flour your work surface. Flatten one dough ball slightly with your hand. It will resemble the shape of a very thick pancake. Using a rolling pin, roll from the center outward up then center outward down, while rotating the dough after every few strokes. This part can be tricky and there are a lot of methods for rolling the dough to make a circular tortilla. This is method that I have found works for me. However, you may use whatever method works best for you. Begin with rolling from the center to outwards up then center to outwards down motion until your tortilla is in the shape of a “chancla” or a flip-flop sandel. It should look as shown above. Begin with rolling from the center to outwards up then center to outwards down motion until your tortilla is in the shape of a “chancla” or a flip-flop sandel. It should look as shown below. Next rotate your vertical “chancla” so that it is horizontal and repeat the same rolling motion of rolling from the center to outwards up then center to outwards down. Continue repeating this pattern of rolling the tortilla a few strokes and rotating it until it begins to resemble a circular pattern. Remember, homemade tortillas are sisters and not clones. There will be variation from each tortilla, do not focus on perfection but rather achieving the end circular shape. This is the touch and part of the charm of homemade tortillas. Continue rolling until the tortilla measures approximately 7 to 10 inches depending on your desired size.
- Place a cast iron skillet or heavy pan over low-medium heat. Allow it to become thoroughly hot before cooking. A properly heated pan ensures the tortillas cook quickly and develop the characteristic brown spots. For a temperature reference – if the tortilla comes out crispy, then the pan is too hot. If the tortilla is not toasting – the pan is not hot enough. Do not grease the skillet.
- Carefully place one rolled tortilla onto the hot skillet. Cook each side for approximately 30 to 45 seconds. Small bubbles will begin forming. Flip the tortilla. Cook the second side for another 30 to 45 seconds. Flip once more if necessary for another 10 to 15 seconds. The finished tortilla should display light golden brown spots while remaining soft and flexible. Avoid overcooking, as this causes tortillas to become dry and brittle.
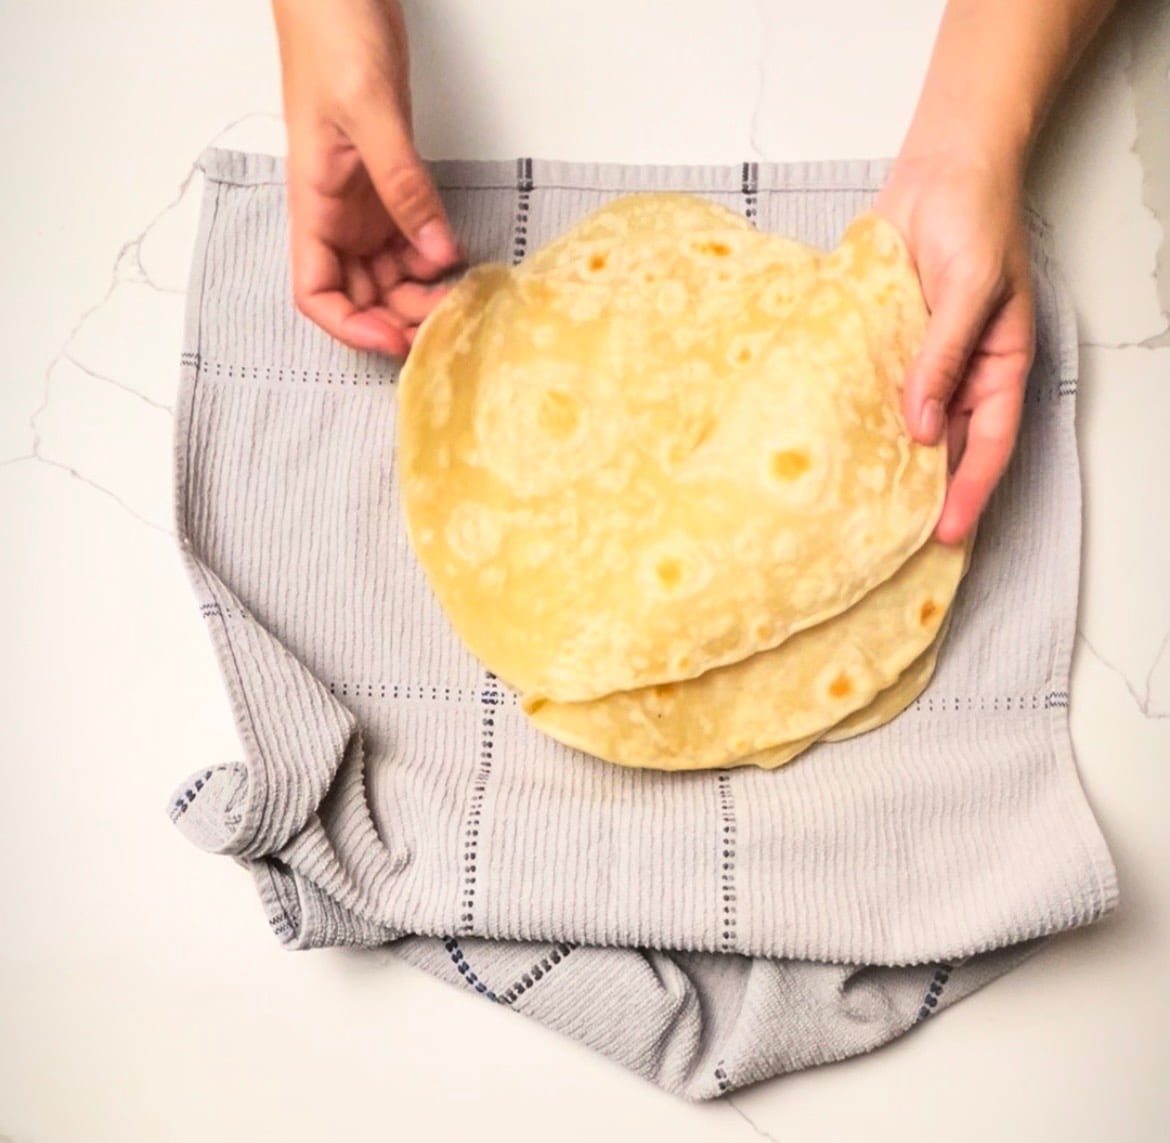
- Place each finished tortilla inside a clean kitchen towel. Wrap the towel around the tortillas to trap steam. This keeps them warm while making the tortillas even softer. Continue until all tortillas are cooked.