Biscuits Recipe
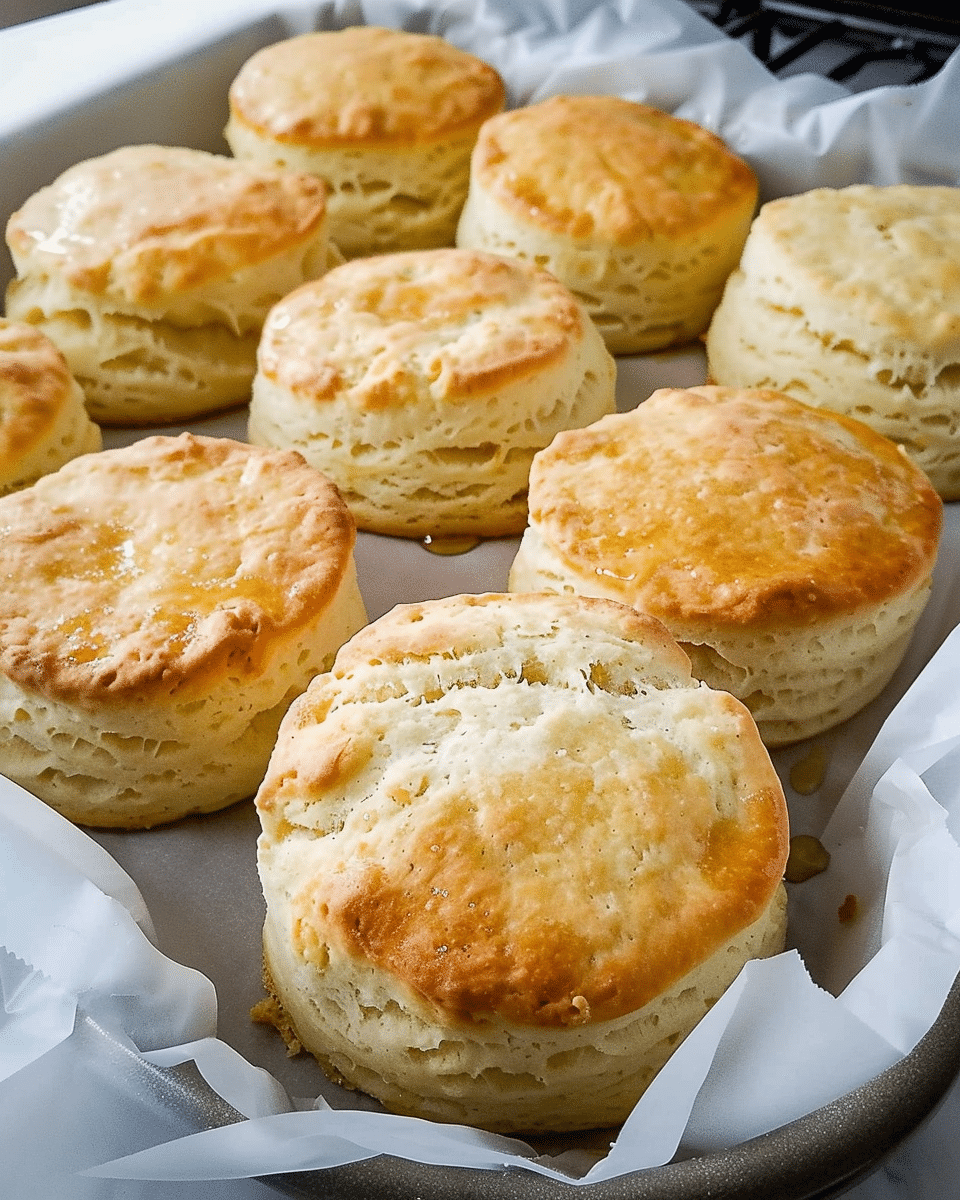
There’s something almost magical about pulling a tray of freshly baked biscuits out of the oven. Golden on the outside, tender and flaky on the inside, and rich with buttery aroma—biscuits are one of those simple pleasures that feel both nostalgic and deeply satisfying. Whether served alongside a hearty breakfast, paired with a comforting dinner, or enjoyed on their own with a drizzle of honey, homemade biscuits have a charm that store-bought versions simply can’t match.
If you’ve ever been intimidated by the idea of making biscuits from scratch, you’re not alone. Many people assume they require advanced baking skills or precise techniques. The truth is, biscuits are wonderfully approachable. With a little understanding of the basics and a few key tips, you can master them in your own kitchen—and once you do, they’ll likely become a staple in your baking routine.
Let’s walk through everything you need to know to make perfect biscuits from scratch.
What Makes a Great Biscuit?
Before diving into the process, it helps to understand what you’re aiming for. A great biscuit should have:
- A light, fluffy interior
- Distinct flaky layers
- A golden, slightly crisp exterior
- A rich, buttery flavor
Unlike bread, biscuits rely on minimal mixing and cold fat to create their texture. The goal is not to develop gluten (which would make them chewy), but to keep the dough tender and airy.
Ingredients You’ll Need
One of the best things about biscuits is how simple the ingredient list is. You likely already have everything on hand.
Basic Biscuit Ingredients:
Ingredients
- 4 cups all-purpose flour (500g)
- 1 tablespoon baking powder
- 1 teaspoon baking soda
- 2 teaspoons salt
- 2 sticks of unsalted butter (cut into small cubes)
- 2 cups buttermilk
That’s it. No fancy ingredients, no complicated steps—just a few basics that come together beautifully.
The Importance of Cold Ingredients
If there’s one rule you should never ignore when making biscuits, it’s this: keep your ingredients cold.
Cold butter is what creates those flaky layers. When small pieces of butter are mixed into the dough and then baked, they release steam, which forms pockets of air. This is what gives biscuits their signature light texture.
Warm butter, on the other hand, blends too easily into the flour and results in dense, flat biscuits.
For best results:
- Keep your butter in the refrigerator until the last moment
- Use cold buttermilk straight from the fridge
- If your kitchen is warm, consider chilling the dough briefly before baking
Step 1: Mixing the Dry Ingredients
Start by preheating your oven to 425°F (218°C).
In a large bowl, whisk together the flour, baking powder, baking soda, and salt. This ensures even distribution, which is important for consistent texture and flavor.
Baking powder is the primary leavening agent here. It’s what helps the biscuits rise quickly in the oven, creating that fluffy interior.
Step 2: Cutting in the Butter
Next comes the most crucial step: incorporating the butter.
Cut your cold butter into small cubes and add it to the flour mixture. Using a pastry cutter, fork, or even your fingertips, work the butter into the flour until the mixture resembles coarse crumbs.
You’re looking for small pea-sized pieces of butter throughout the mixture. These visible bits are exactly what you want—they’ll create those flaky layers during baking.
Try not to overwork the mixture. The butter should remain distinct, not fully blended in.
Step 3: Adding the Liquid
Pour in the cold buttermilk and gently stir until the dough just comes together.
The key word here is gently. Overmixing will develop gluten and make the biscuits tough instead of tender. The dough should look slightly shaggy and a bit sticky—that’s perfectly normal.
If the dough feels too dry, add a tablespoon of buttermilk at a time. If it’s too wet, sprinkle in a little flour.
Step 4: Shaping the Dough
Turn the dough out onto a lightly floured surface.
Instead of kneading it like bread, gently pat it into a rectangle about 1 inch thick. Then fold it over onto itself a few times—this folding process helps create layers.
After folding, pat the dough down again to about 1-inch thickness.
Using a biscuit cutter or a glass, cut out rounds. Press straight down without twisting, as twisting can seal the edges and prevent the biscuits from rising properly.
Gather the scraps, gently press them together, and cut out additional biscuits.
Step 5: Baking to Perfection
Place the biscuits on your prepared baking sheet. For softer sides, arrange them close together so they touch slightly. For crispier edges, space them apart.
Bake for 12–15 minutes, or until the tops are golden brown.
For an extra touch, brush the tops with melted butter as soon as they come out of the oven. This adds flavor and gives them a beautiful finish.
Tips for Better Biscuits
Even though biscuits are simple, a few small adjustments can make a big difference.
1. Use buttermilk.
It adds a slight tang and reacts with the baking soda for extra lift.
2. Don’t overhandle the dough.
The less you work it, the more tender your biscuits will be.
3. Cut straight down.
Avoid twisting your cutter to ensure maximum rise.
4. Bake at a high temperature.
This helps create steam quickly, which contributes to flakiness.
5. Practice makes perfect.
Your first batch might not be perfect—and that’s okay. Each attempt will get better.
Variations to Try
Once you’ve mastered the basic recipe, you can easily customize your biscuits.
Cheddar Biscuits
Add 1 cup of shredded cheddar cheese to the dry ingredients for a savory twist.
Herb Biscuits
Mix in chopped fresh herbs like rosemary, thyme, or chives for added flavor.
Sweet Biscuits
Increase the sugar slightly and add a touch of vanilla for a dessert-style biscuit.
Garlic Butter Biscuits
Brush baked biscuits with melted butter mixed with garlic powder and parsley.
Serving Suggestions
Biscuits are incredibly versatile and can be served in countless ways.
- With butter and jam for a simple breakfast
- As a side for soups and stews
- Split and filled with eggs and bacon for a breakfast sandwich
- Topped with gravy for a classic comfort dish
- Drizzled with honey or maple syrup for a sweet treat
They’re equally at home on a holiday table or a casual weekday meal.
Storing and Reheating
Fresh biscuits are best enjoyed right out of the oven, but they can be stored for later.
- Room temperature: Store in an airtight container for up to 2 days
- Refrigerator: Keeps for up to a week
- Freezer: Freeze baked biscuits for up to 3 months
To reheat, warm them in the oven, Air Fryer, or toaster oven. Avoid microwaving, if possible, as it can make them rubbery.
Why Homemade Biscuits Are Worth It
In a world full of convenience foods, making biscuits from scratch might seem unnecessary. But once you’ve experienced the difference, it’s hard to go back.
Homemade biscuits are fresher, more flavorful, and free from preservatives. More importantly, they carry a sense of warmth and care that no packaged product can replicate.
There’s also something deeply satisfying about mastering a recipe that relies more on technique than complexity. With just a handful of ingredients and a bit of practice, you can create something truly special.
Final Thoughts
Biscuits are a reminder that great food doesn’t have to be complicated. Sometimes, the simplest recipes are the most rewarding.
By focusing on cold ingredients, gentle handling, and proper baking techniques, you can achieve biscuits that are light, flaky, and full of flavor every time.
So, the next time you’re in the mood to bake, give biscuits a try. They come together quickly, require minimal equipment, and deliver maximum comfort with every bite.
And who knows? That warm, buttery aroma filling your kitchen might just become one of your favorite parts of the day.
Biscuits Recipe
Ingredients
Method
- Start by preheating your oven to 425°F (218°C).
- In a large bowl, whisk together the flour, baking powder, baking soda, and salt. This ensures even distribution, which is important for consistent texture and flavor.
- Baking powder is the primary leavening agent here. It’s what helps the biscuits rise quickly in the oven, creating that fluffy interior.
- Next comes the most crucial step: incorporating the butter.
- Cut your cold butter into small cubes and add it to the flour mixture. Using a pastry cutter, fork, or even your fingertips, work the butter into the flour until the mixture resembles coarse crumbs.
- You’re looking for small pea-sized pieces of butter throughout the mixture. These visible bits are exactly what you want—they’ll create those flaky layers during baking.
- Try not to overwork the mixture. The butter should remain distinct, not fully blended in.
- Pour in the cold buttermilk and gently stir until the dough just comes together.
- The key word here is gently. Overmixing will develop gluten and make the biscuits tough instead of tender. The dough should look slightly shaggy and a bit sticky—that’s perfectly normal.
- If the dough feels too dry, add a tablespoon of buttermilk at a time. If it’s too wet, sprinkle in a little flour.
- Turn the dough out onto a lightly floured surface.
- Instead of kneading it like bread, gently pat it into a rectangle about 1 inch thick. Then fold it over onto itself a few times—this folding process helps create layers.
- After folding, pat the dough down again to about 1-inch thickness.
- Using a biscuit cutter or a glass, cut out rounds. Press straight down without twisting, as twisting can seal the edges and prevent the biscuits from rising properly.
- Gather the scraps, gently press them together, and cut out additional biscuits.
- Place the biscuits on your prepared baking sheet. For softer sides, arrange them close together so they touch slightly. For crispier edges, space them apart.
- Bake for 12–15 minutes, or until the tops are golden brown.
- For an extra touch, brush the tops with melted butter as soon as they come out of the oven. This adds flavor and gives them a beautiful finish.
Notes
- Use buttermilk. It adds a slight tang and reacts with the baking soda for extra lift.
- Don’t overhandle the dough. The less you work it, the more tender your biscuits will be.
- Cut straight down. Avoid twisting your cutter to ensure maximum rise.
- Bake at a high temperature. This helps create steam quickly, which contributes to flakiness.